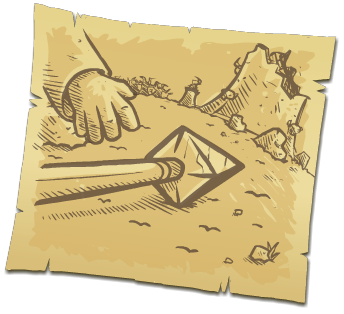
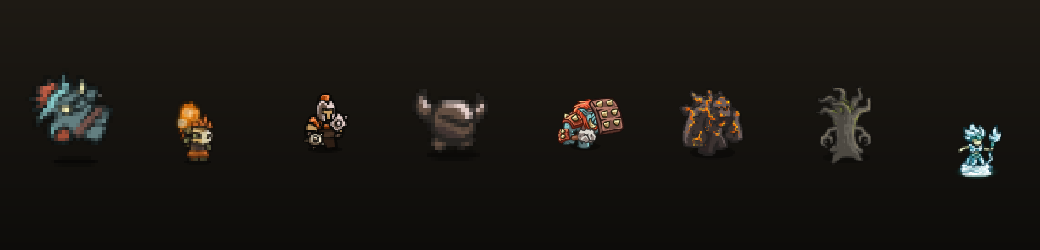
 Enemy artwork. Boss waves break blocks. Bosses and some elites hit barracks units hard enough to thin a block out quickly, so assume your block will fail partway through the wave.
Lives and the star system
You start every stage with 20 lives. Enemies that reach the exit take them away. What you have left when the last wave dies is your score, and it is recorded as stars.
The thresholds are fixed and worth memorising, because they set the whole tone of how you play a stage:
| Lives remaining | Stars awarded | What it actually means |
|---|---|---|
| 18–20 | 3 stars | You did not meaningfully misread the stage |
| 6–17 | 2 stars | You held. Your build order was probably wrong |
| 1–5 | 1 star | You survived, barely, and learned the layout |
| 0 | No stars | The run is over. Nothing is kept |
Read those bands carefully. There is a huge gap between "no leaks" and "few leaks" in how it feels, but almost none in how it scores. Going from 17 lives to 18 lives — one single enemy getting through — takes you from two stars to three. That is not a rounding curve, that is a cliff edge, and it explains the strange feeling that a stage you clearly won feels like it barely registered.

That is worth sitting with for a moment, because it changes what a star is. A star is not a medal for a stage you finished. It is a deposit in an account with a fixed price list. Three stars on a stage you found easy is worth exactly the same as three stars on a stage that nearly killed you, and both of them are 15 stars away from a hero.
Why chasing three stars is a damage race
Because the top band is so tight, the last few lives are not really about survival. They are about damage output per second. Most losses in Kingdom Rush happen in one of two ways: a slow leak that costs you a life every few waves, or a single catastrophic boss wave that drains you. Three-star play means your total damage across the whole stage has to be high enough that nothing arrives at the exit, ever.
That has direct consequences for how you build. A wider spread of cheap towers usually produces steady damage and a slow leak. A smaller number of well-upgraded towers produces a large damage spike right where it matters. The second is what the scoring rewards, which is why most strong players upgrade early rather than spamming build spots.
Practical target
Stop trying to take zero leaks from wave one. Waves one to five usually leak a little on a hard stage and that is fine — you are climbing out of 20 down to 17ish. Win the game from wave six onward, and the three stars arrive on their own.
The gold economy
Gold is the only resource that limits your build, and it arrives on a schedule you cannot change. You can only change how much of it you keep.
The early-call bonus
Every wave can be called early. Calling the next wave before the current one has finished pays you an extra bonus on top of the wave's normal gold. The reward scales with how early you call it, and it stacks with the kills inside the wave, so it is not a trade-off — you get more gold for playing faster.
The risk is entirely about your defence, not about the gold. Call early with a solid block holding and you accelerate your whole build. Call early with a leaky lane and you simply lose lives faster. The correct rule is simple: earn the bonus, do not spend the lives.
Killing speed vs spending order
Gold arrives per enemy killed, so killing things quickly pays. But the order in which you spend matters far more than how fast you kill.
- Front-load the essentials. Two archers and a barracks, bought early, are worth more than four towers bought late.
- Upgrade before expanding, for most of the stage. An upgraded tower multiplies everything already in range; a new tower adds one more stream.
- Expand late only when positions are fixed and the remaining gold has nowhere better to go.
The classic error is buying a cheap tower on an unused tile, then discovering you cannot afford the upgrade that would have made it matter. Buying fewer things, better, wins stages.
Selling refunds 60%
Selling a tower returns 60% of everything you have invested in it — base cost and every upgrade included. That makes selling a mid-tier tower a genuine strategic option rather than a punishment, and it is the only way to recover from a bad build on a stage you want to three-star.
Two rules keep it useful rather than wasteful. Sell to convert, not to restart: a tower you cannot use is 40% of its gold back and it frees the tile. And sell once, early, if you must — repeatedly rebuilding and reselling bleeds gold through the 40% each time and will quietly cost you a level-4 tower.
Front-loaded vs back-loaded
Front-loaded means buy cheap early, upgrade later. It survives mistakes and it is correct for any stage you have not cleared. Back-loaded means hoard for a level-4 tower and play with a skeleton defence until you can afford it. It is faster on a stage you already know, where early waves are survivable with almost nothing.
On a new stage, front-load. You cannot three-star a stage you keep losing at wave nine, and the gold from that run is gone either way.
The six upgrade trees, bought with stars
Stars are not just a score. They are currency, and spending them wrong is the most common reason a strong campaign run stalls out.
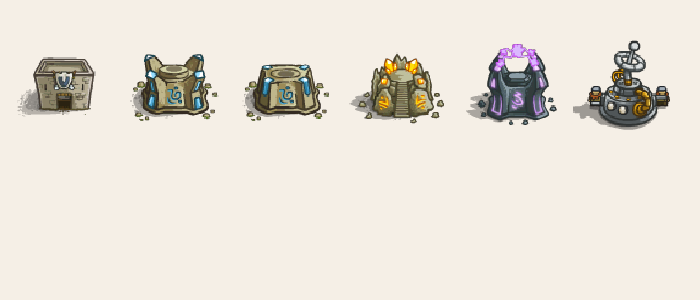
There are six upgrade trees. Four of them belong to the four tower types, and they carry the same five upgrade names as the towers themselves: two on the level-2 path, two on the level-3 path, and one that picks the level-4 branch. The other two belong to the spells.
| Tree | Upgrade names | What the tier buys |
|---|---|---|
| Archer | Salvage · Eagle Eye · Piercing Shots · Far Shots · Precision | Upgrades your Archer line to Marksmen, Sharpshooter, then Rangers or Musketeer |
| Barracks | Toughness Training · Better Armor · Improved Deployment · Endurance Training · Spiked Armor | Militia → Footmen → Knights, then Holy Order or Barbarian |
| Mage | Spell Reach · Arcane Shatter · Hermetic Study · Empowered Magic · Slow Curse | Mage → Adept → Wizard, then Arcane Wizard or Sorcerer |
| Artillery | Concentrated Fire · Range Finder · Field Logistic · Industrialization · Smart Targeting | Bombard → Artillery → Howitzer, then Tesla x104 or Big Bertha |
| Rain of Fire | Blazing Skies · Scorched Earth · The Fast & Furious · Blazing Earth · Cataclysm | The level-4 upgrade is Cataclysm, an enormous targeted strike |
| Reinforcements | Well Fed · Conscripts · Warriors · Legionnaires · Spear Throw | Faster, tougher, more frequent hero deployments |
A few of these matter more than their position suggests:
- Smart Targeting (artillery) is the single best upgrade available. Without it, shells do full damage only at the centre of the blast; with it, the entire radius deals full damage. It also extends Tesla chain damage from roughly half its listed range to the full listed range.
- Improved Deployment (barracks) speeds up how fast blockers refill. Blocking is the strongest mechanic in the game, and this is the upgrade that keeps it full.
- Eagle Eye (archer) extends range, which on most maps is worth more than raw damage because it lets the tower start shooting earlier.
- Field Logistic (artillery) cuts the shell reload time. Slower reloads are what make artillery feel weak; this fixes it.
- Cataclysm (Rain of Fire) turns a useful spell into a stage-ending one. It is the most dramatic upgrade in the game.
Resets are free
Tower upgrade paths can be reset at any time, and you get the stars back. That makes a per-stage loadout completely legal: take Smart Targeting on an artillery stage, take Eagle Eye on a long-lane stage, take nothing on the stage where you only earn one star. Resets cost you nothing except the time to click, so do not build a "correct" campaign build out of superstition.
Rain of Fire and Call Reinforcements
Two spells, both on long cooldowns, both far stronger than most players ever use them for.
| Spell | What it does | Hold it for | Upgrades that matter most |
|---|---|---|---|
| Rain of Fire | Calls burning fire onto a target area, damaging everything standing there over time | Crowd waves, and the wave right after your block is holding a full queue | Cataclysm — a far larger, far heavier single strike. Scorched Earth extends the burning ground. |
| Call Reinforcements | Brings your hero back onto the field instantly | Never. Use it the moment your hero dies | Well Fed boosts hero damage and health. Spear Throw gives ranged attacks. Legionnaires speeds the redeploy. |
Rain of Fire
Rain of Fire is the strongest area tool in the game, and in the original Flash build it can be targeted anywhere on the level — not just on the path, not just on a tower's range. That is a Flash-era advantage worth remembering: you can drop fire behind a chokepoint on enemies you cannot yet reach, or on a corner where they bunch up.
Its cooldown is long. That is the whole tension. Casting it on a trash wave to feel good wastes the single most valuable button in the game. Save it for the wave where a large group is standing inside a barracks block, where the fire adds to the artillery damage you are already landing there.
Call Reinforcements
Call Reinforcements revives your hero and puts them back on the field. There is no clever timing: the correct use is the instant your hero dies, because the respawn timer on its own is a long stretch of wasted hero DPS. Upgrading it shortens the gap and makes the hero stronger when they return.
One rule beats the rest: do not leave a hero parked in a risky tile so that you can bring them back with the spell. The spell exists for deaths, not for repositioning. Moving a hero to safety is free.
Casual, Normal and Veteran
Difficulty scales enemy health, and health is the only thing that really changes. Positions, paths and enemy behaviour stay the same.
- Casual — enemies have noticeably less health and the stage is forgiving. Use it to learn a map's chokepoints, not to clear it properly.
- Normal — the intended experience. The build order in any guide assumes this.
- Veteran — enemies hit much harder. What changes is your margin for error, not your strategy. The same four towers, the same positions, but mistakes that were survivable on Normal now cost you stars or the run.
The important consequence: because only health changes, a solution that works on Veteran works on Normal and Casual. Difficulty is a race against a clock your build has to meet, so upgrading early matters more at Veteran than anywhere else. Extra cheap towers buy you nothing extra against higher health — they buy the same damage, just with worse efficiency.
Campaign, Heroic Challenge and Iron Challenge
Three ways to play the campaign, and the difference between them is mostly how much you are allowed to fail.
- Campaign — the normal mode. 20 lives, difficulty selectable, stars earned and banked for upgrades.
- Heroic Challenge — 1 life, and it awards 1 star on a win. All enemies count as the hardest variant available on that stage.
- Iron Challenge — 1 life, awards 1 star, and stacks all the Heroic modifiers on top.
Both challenge modes are clear-and-earn-one-star. That single star is worth buying upgrades with, so they are a reliable income source rather than a bragging right — provided you can actually clear them.
Do not attempt these cold
One life means no recovery from a single mistake, and Heroic enemies hit far harder than their Normal counterparts. Clear the stage on Veteran first, with the exact build you intend to use. Only then remove the lives.
Hero mechanics: movement, levels and damage
A hero is worth having. A hero used badly is worth less than a tower, and heroes are almost always used badly the first few times.
Movement
Click anywhere on the map and the hero walks there. They take no damage from enemies while walking — they simply cannot fight — so every second spent repositioning is a second of zero damage output. Position a hero ahead of the wave, not behind it, and reposition early rather than late.
Skill points and levels
Heroes gain levels as they fight and earn skill points automatically. There is no separate XP bar to manage and no choices to lock in badly: the points go into the hero's skills, and the point is simply to keep the hero alive long enough to gain them. A hero who dies on wave two never reaches the level where they are actually worth deploying.
Respawn timer
A dead hero stays dead for a set period before you can deploy them again. During that window you have no hero damage at all, which is why the Call Reinforcements spell matters so much — it skips the wait. On the stages where the hero is doing the heavy lifting, that spell is often worth more than a third tower.
How hero damage differs from tower damage
Heroes are not a substitute for towers, and the reason is structural. A hero is a single point of damage that must be positioned correctly, survives for a while, and then leaves. A tower is a permanent stream of damage covering a fixed arc of the map, and it works while you are not watching.
There is one important exception, and it is a big one: a hero blocking on a road tile holds enemies in place while your towers fire freely. A hero used as a mobile wall is worth far more than the same hero used as a damage dealer, because it converts every tower's damage into single-target damage.
Hero damage and upgrades
Hero rosters and unlock conditions vary across releases of the first Kingdom Rush game. Check the hero menu in the edition you are playing. Stars earned from campaign stages can be invested in the permanent upgrade trees, including improvements to shared spells such as Reinforcements.
Blocking and sealing, and why it converts single-target into area damage
This is the single most important mechanic in Kingdom Rush, and it is not about towers at all. It is about where the road stops.
What actually happens when a barracks blocks
When you build a barracks on a road tile, the units walk into the road and stand there. Everything queued behind them stops moving. They do not slip past, they do not squeeze through, they wait. While that block holds, a few things are true simultaneously:
- Every tower behind the block has unlimited time on a single target. A tower that normally gets a fraction of a second per enemy now gets several seconds.
- Artillery shells that would have caught one enemy now catch the entire waiting queue.
- Anything standing behind the block is safe, because nothing behind it is taking hits. This is what makes a hero parked on a blocked tile effectively invulnerable.
- Leeching or regeneration effects on blocked units can keep feeding them, which is why a strong block can hold far longer than its numbers suggest.
Why it converts single-target into area damage
Here is the arithmetic that makes blocking non-negotiable. An artillery shell aimed at a moving stream lands on whatever happens to be beneath it — usually two or three enemies in a thin line. The same shell, aimed at a stopped queue, lands on every one of them at once, because they are all standing inside the blast radius together.
So a block does not add damage. It changes the shape of your damage. A tower that is single-target against a moving column becomes effectively area damage against a stopped one, without costing a single extra gold. Pair that with the Smart Targeting upgrade and every enemy in the pile takes the full blast, which is the highest-output arrangement in the game.
 Where stars go. Every star you finish a stage with is spent through this button, on tower upgrades and on the six upgrade trees.
Sealing, and when to hold off building
There are stages where the road loops back on itself so tightly that a well-placed block traps a large section of it. On those maps the winning move is to build the block early and let the geometry do the work.
On most stages, seal late. Until you can see the last two or three waves, you do not know which of your chokepoints matters, and a barracks built in the wrong place is gold you cannot get back cleanly — you sell it for 60%, not 100%.
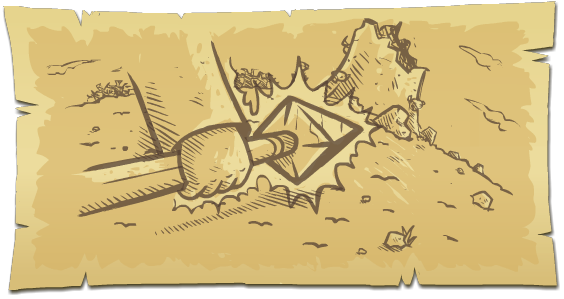
Boss waves break blocks
Bosses and some elites hit barracks units hard enough to thin a block out quickly. When a boss is due, assume your block will partially or fully fail partway through the wave. Do not stack your damage behind a block you cannot replace before the boss reaches it.
One last thing worth stating plainly. Almost everything on this page reduces to a single question: how many enemies are standing still inside my damage at any moment? Blocking raises that number. Splash upgrades raise it. Corner placement raises it. Hero skill points raise it slightly. Everything else is decoration on top of that.
Quick answers
The questions that come up most often about This page, answered directly.